Practical video guide
Best Online Video Editor Tutorial for Confident Editing
Use this step-by-step tutorial to choose the right editing path, assemble a clear project, and complete a final quality check before sharing your video.
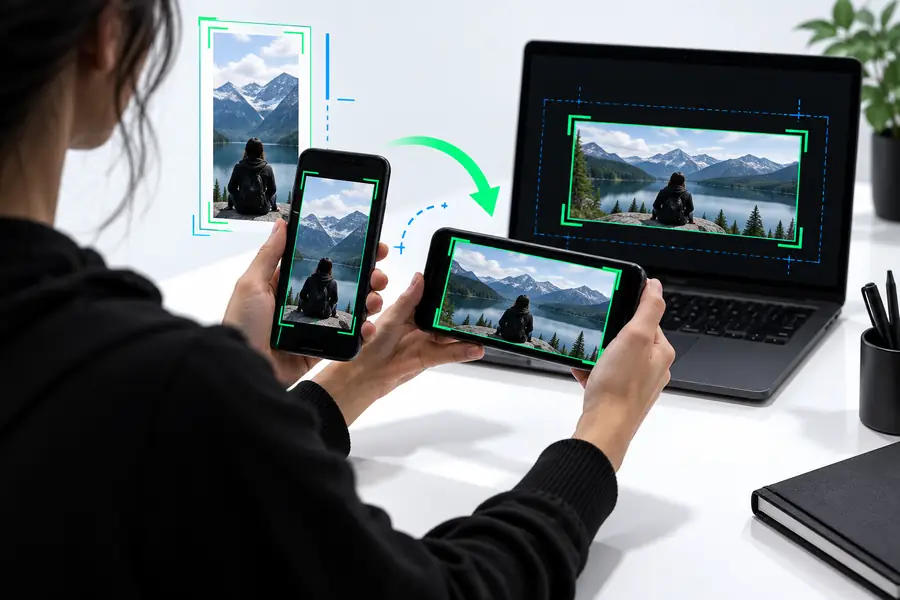
Decide which case you are
The right workflow depends less on advanced effects than on your source material, audience, and publishing goal.
- Existing footagePath A is best when you already have video clips that need trimming, sequencing, and polish.
- Starting freshPath B is better when your project starts with photos, a script, or a simple idea rather than finished clips.
- Final checkThree checks—story, sound, and export—catch most problems before a video goes public.
- Core ruleA short tutorial works best when every edit supports one clear viewer action or takeaway.
Path A
Choose this route when you have recorded clips and want a dependable edit without overcomplicating the timeline.
-
1
Sort the story
Put the strongest opening moment first, then arrange clips in the order a viewer needs to understand the subject. Remove duplicate takes and pauses before adding style.
-
2
Build the rough cut
Trim each clip to its useful action, add simple transitions only where they clarify a change, and keep the timeline focused on one main idea.
-
3
Polish for attention
Balance the voice or main sound, add readable text where context is missing, and preview the complete sequence at normal playback speed.
Path B
Use this route when the raw ingredients are still loose. A simple plan prevents a collection of assets from becoming a confusing video.
-
Define one audience and one intended action before opening the editor. — Write the goal in one sentence.
-
Gather the photos, clips, music, logo, and text you are allowed to use. — Keep source files in one folder.
-
Choose a basic structure with an opening, a useful middle, and a clear ending. — A three-part outline is enough for a first draft.
-
Decide on a consistent aspect ratio for the destination where the video will appear. — Do not mix orientations casually.
-
Prepare optional captions, branding, or background music after the main sequence works.optional — Polish should follow clarity.
Final check
Before exporting, watch the full video as if you are seeing it for the first time. These related resources can help with specific formats and goals.
- free online video editor tutorial Use this companion guide for a more basic walkthrough of the editing process.
- online video editor for youtube This guide focuses on shaping edits for YouTube viewers and publishing habits.
- free online video editor with effects This option explains how to add effects without letting decoration overpower the message.
Final check
A good tutorial should also make the boundaries clear. An online workflow is useful, but it cannot repair every source problem or replace editorial judgment.
It cannot invent missing story
An editor can rearrange and refine footage, but it cannot create convincing context when the recording never captured it.
What to do instead
Write a short outline first, then record a pickup shot or add precise narration.
It cannot guarantee clear audio
Noise, clipping, echo, or a distant microphone may remain noticeable after basic volume adjustments.
What to do instead
Use the cleanest take, lower distracting background sound, and record important lines again when possible.
It cannot choose your audience
Templates and effects do not determine whether the message suits a customer, student, subscriber, or teammate.
What to do instead
Name the audience and desired action before selecting transitions or visual style.
It cannot replace a final review
An export may still contain a typo, awkward cut, missing frame, or unsuitable ending even when the timeline looks finished.
What to do instead
Preview the complete result once with sound and once while checking text and pacing.
Final check
The format has changed as cameras, browsers, and publishing platforms changed, but the underlying editing lesson stayed consistent: clarity comes first.
-
Linear editing shaped the basic sequence
Editors worked through ordered shots, making selection and timing central skills long before browser-based tools appeared.
-
Digital timelines made revision easier
Nonlinear editing let creators move, trim, and compare clips without rebuilding the entire sequence from the beginning.
-
Web publishing shortened the feedback loop
Creators increasingly edited for online audiences, where the opening seconds, readable text, and compact pacing mattered immediately.
-
Browser workflows became more approachable
Online editors brought common trimming, arrangement, text, and media tasks into a workflow that can be learned without a large desktop setup.
-
Tutorials emphasize repeatable decisions
The most useful guidance focuses on story structure, audience fit, sound, and review instead of treating effects as the main measure of quality.
Final check
Select the panel closest to your project. The controls may vary by editor, but the decision-making pattern remains the same.

Short social video
Make the first seconds do useful work
Start with the clearest visual or statement, remove setup that does not help the viewer, and keep text large enough to scan quickly. Build one focused idea rather than a miniature compilation.
- Open with the subject or result.
- Use short text lines with strong contrast.
- End with one clear next action.
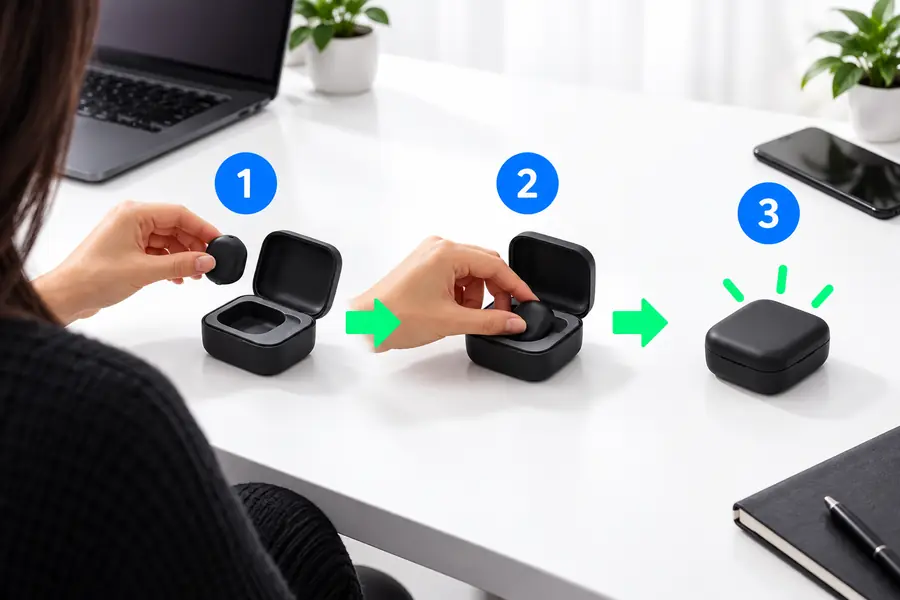
Product demonstration
Show the action in a logical order
A product video should make the sequence easy to follow. Establish what the item is, show the relevant action, and finish with the practical outcome instead of stacking unrelated features.
- Show the starting problem.
- Keep the key action visible.
- Use close-ups only when they explain a detail.
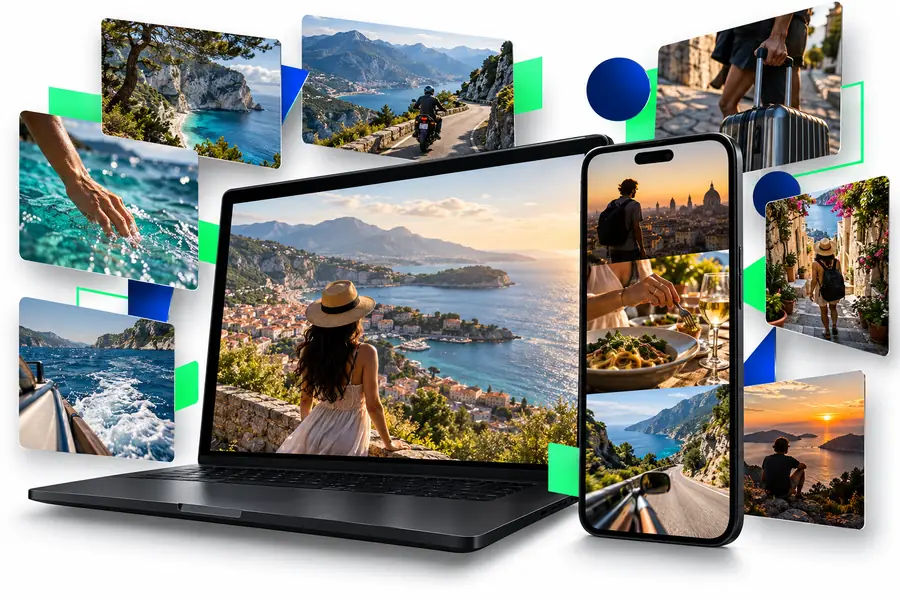
Travel or event recap
Use variety without losing the place
A recap benefits from changes in scale and perspective, but every shot should contribute to a sense of place or progression. Let natural sound or a restrained music bed connect the sequence.
- Open with a strong establishing moment.
- Alternate wide and close views thoughtfully.
- Keep the ending calm enough to feel complete.
Final check
Compare a rough sequence with a reviewed version. The difference is usually less about more effects and more about removing uncertainty.
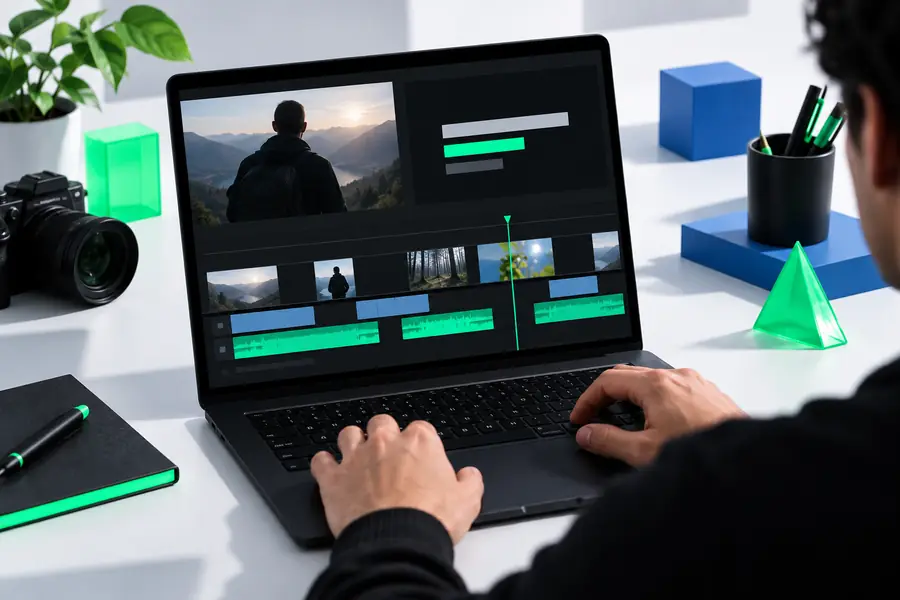
Rough cut
Drag the divider to compare structure and finish.
Reviewed cut
Final check
You do not need to master every control before making a useful video. Start with the audience, follow the path that matches your source material, and reserve time for the final review.
Turn the tutorial into your next edit
- Choose a clear first shot
- Keep one purpose per video
- Review the complete export
Tutorial FAQ
These answers cover the questions people most often ask when looking for the best way to learn browser-based video editing.
Learn the basic sequence: import or select media, place it in order, trim unwanted sections, add essential text or sound, and preview the result. Once that workflow feels natural, explore effects and more advanced controls.
It can be suitable for many short videos, demonstrations, social clips, lessons, and straightforward publishing projects. The best choice depends on the complexity of the edit, the source quality, and whether the editor supports the controls and output you need.
Choose the existing-footage path when your main task is selecting and trimming recorded clips. Choose the planning path when you are assembling photos, a script, or loose assets and need to create the structure before polishing it.
Watch the entire video from beginning to end and check three things: the story is understandable, the audio is comfortable, and every title or caption is accurate. Also confirm that the ending gives the viewer a clear sense of completion or next action.